Tutorial
- Multiple Sequence Alignment (MSA) with ClustalW2 and Muscle
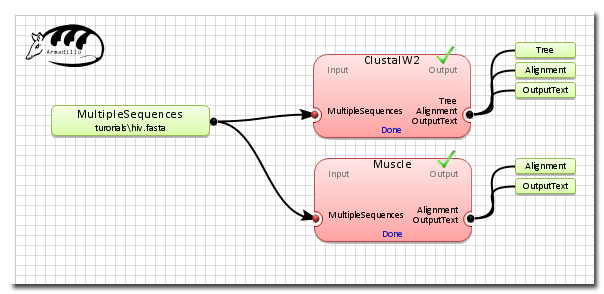
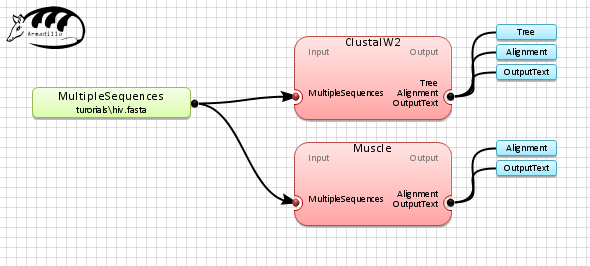
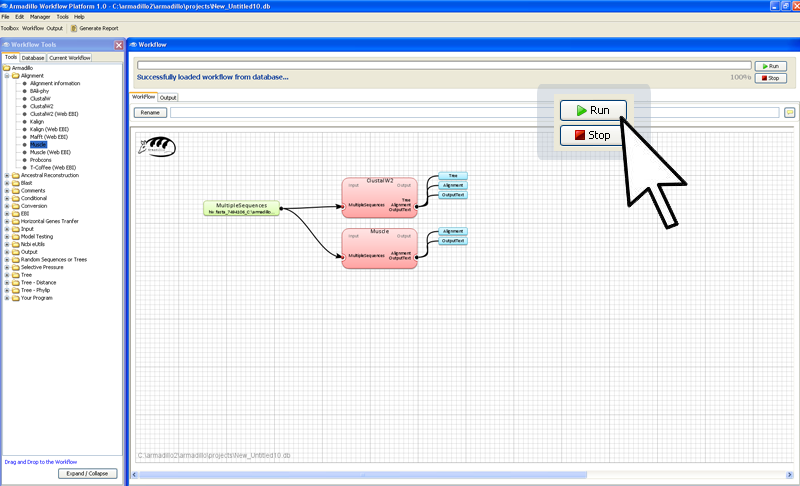
The final workflow after the execution and some results.
5 steps required
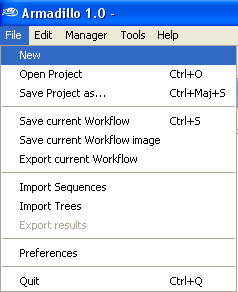
Step 1. Open a new
workflow project
Open the
File Menu and select
New.
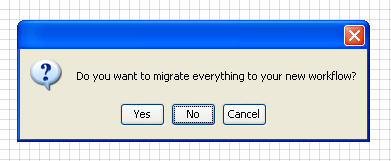
When asked if you want to migrate your data and workflow to the new
project, select
NO.
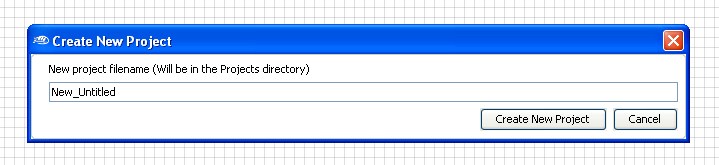
Then, enter a new
project
filename.
For the time being, we will be working with the default name.
The new project
file (New_Untitled.db) will be in the \projects\ directory.
Step 2. Insert a new
sequence dataset
Go into the
File Menu and select
the
Import Sequences menu
.
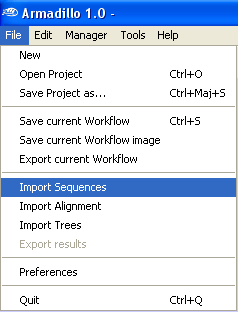
Select the file
hiv.fasta
located in
the
/
examples
directory.
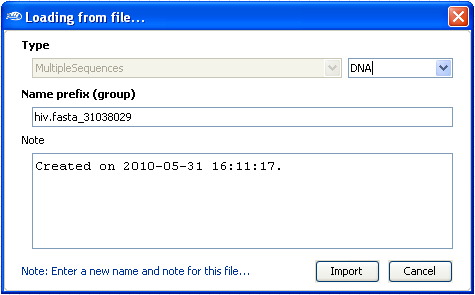
A new dialog box will be shown where you can enter some informations
about the sequence files, type of sequences (DNA, RNA or AA [Amino Acid]).
Select
import when you''ve finished entering informations.
Note: The name prefix will be added to all files. It allows for a simplified loading of multiple sequence alignment files.
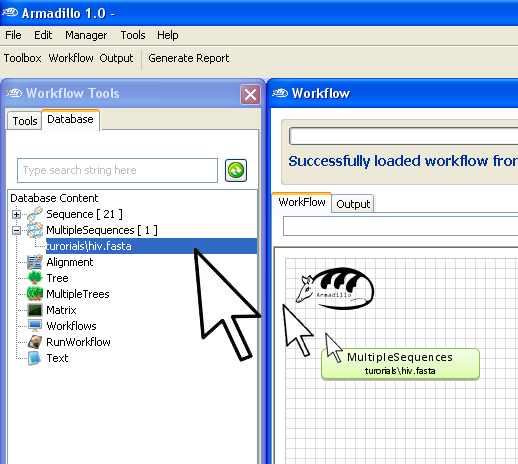
Once imported, you can find the newly imported
MultipleSequences in
the
Workflow Database
pane. (Note: the name of the MultipleSequences might be different).
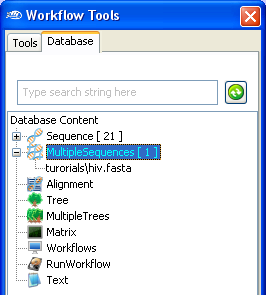
To use it,
"drag and
drop" the new MultipleSequences object into the
Workflow
area (
see below).
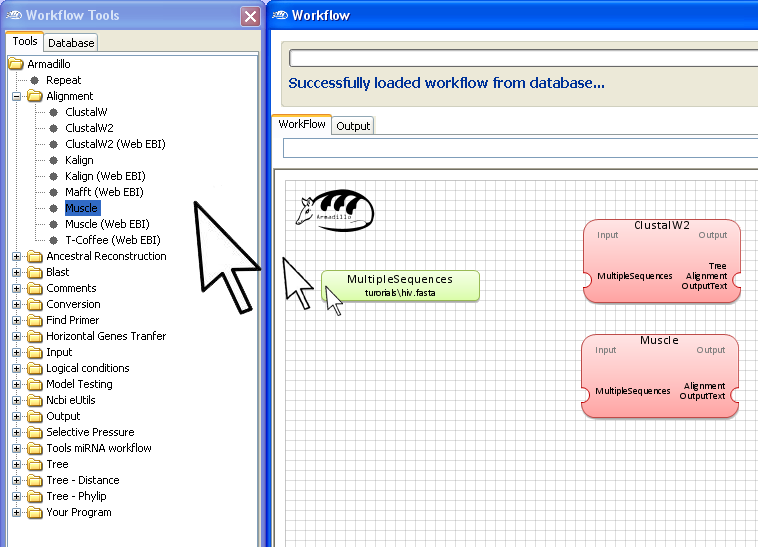
Step 3. Add the MSA
applications
Go into the
Workflow Tools Pane
and using the same "drag and drop" motion, add the
ClustalW and
Muscle
application to the
Workflow
area.
Note: Executing this workflow locally can be SLOW.
If you have Internet access, you can use the ClustalW2 (Web EBI) and
Muscle (Web EBI) applications instead, which result in a running time
of ~7 minutes for this HIV dataset.
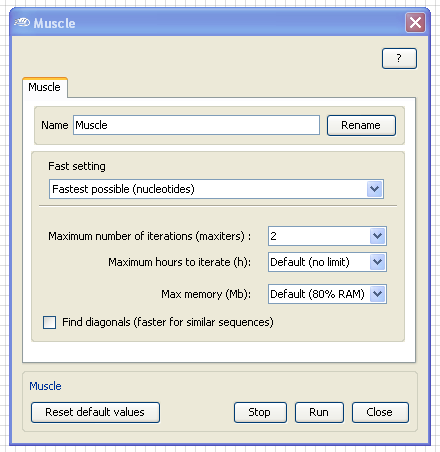
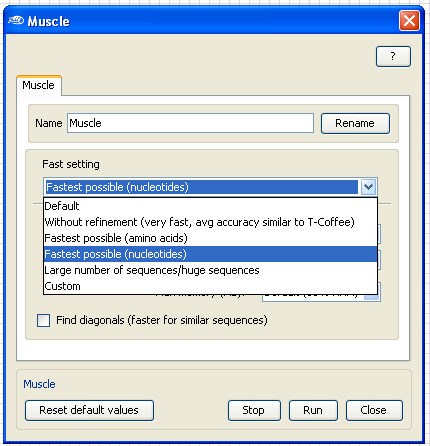
To speed up the analysis, open the
Muscle configuration box by
Double-Clicking
with the
left mouse
button on the Muscle application box and select in the "Fast setting" the "
Fastest possible (nucleotides)".
 Double-Click
with the
left mouse
button on the Red dot

(
identifying the application data outputs) to show all application outputs.
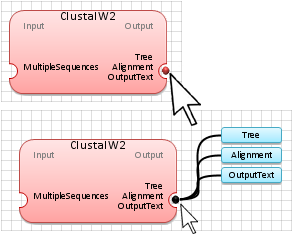
Note: The
blue color for
any input or output data indicates that either it is undefined or has not
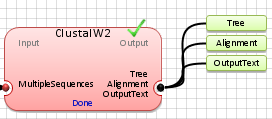
been generated. Once the data are genetated, the output will
turn to the
green color, as shown below.
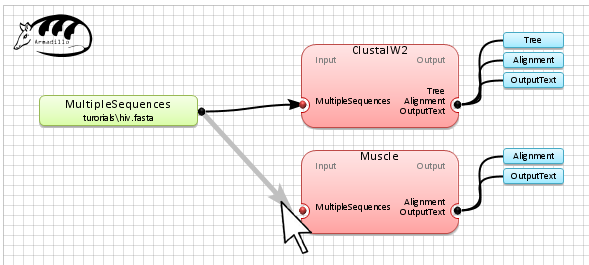
Connect the
MultipleSequences
(examples\hiv.fasta) to the applications box by selecting
the
connection box
at the end of the MultipleSequences object and link it to each of
the multiple sequence alignment applications (i.e. ClustalW2 and
Muscle).
Step 4. Execute the workflow
In the far right corner of
the worflow artea, click on the
Run button.
While the applications are running you can see the application
progress either by looking at the workflow progress bar (above the workflow area) or by
clicking on the
Output
panel (see below).
You can
save this generated application output to a text file by
clicking on the bottom-left button
"Save as Text".

When all the workflow executions have been carried out, a

should appear on the right-corner of each application box. If an error has occured, a warning sign

will be displayed.
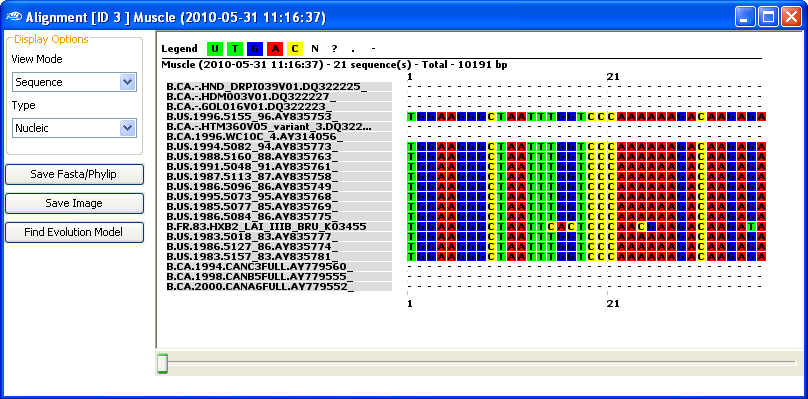
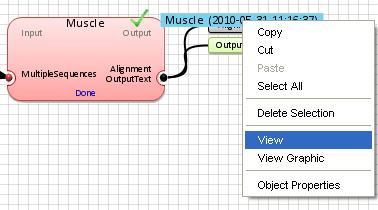
Step 5. Display the results
To view a
Text View of the multiple sequence alignment, either
double-click on the application
aligment output or
right-click on it and select
"View".
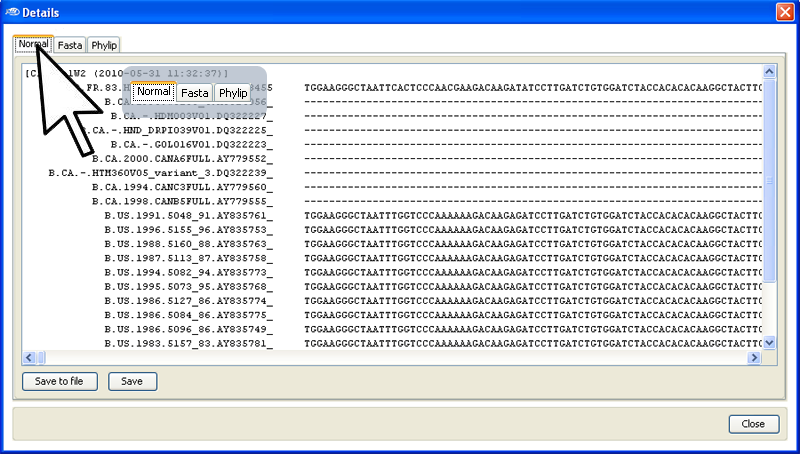
In this view (see below), you can select either a
simplified representation of the aligned sequences, or a
fasta or phylip format for rapid "
Cut-and-Paste" to other applications.
To display a more graphic representations, right-click on the aligment output and select
"View Graphic".
